


Instructions for Adding and Using a Device in the App iShareCloud Pre
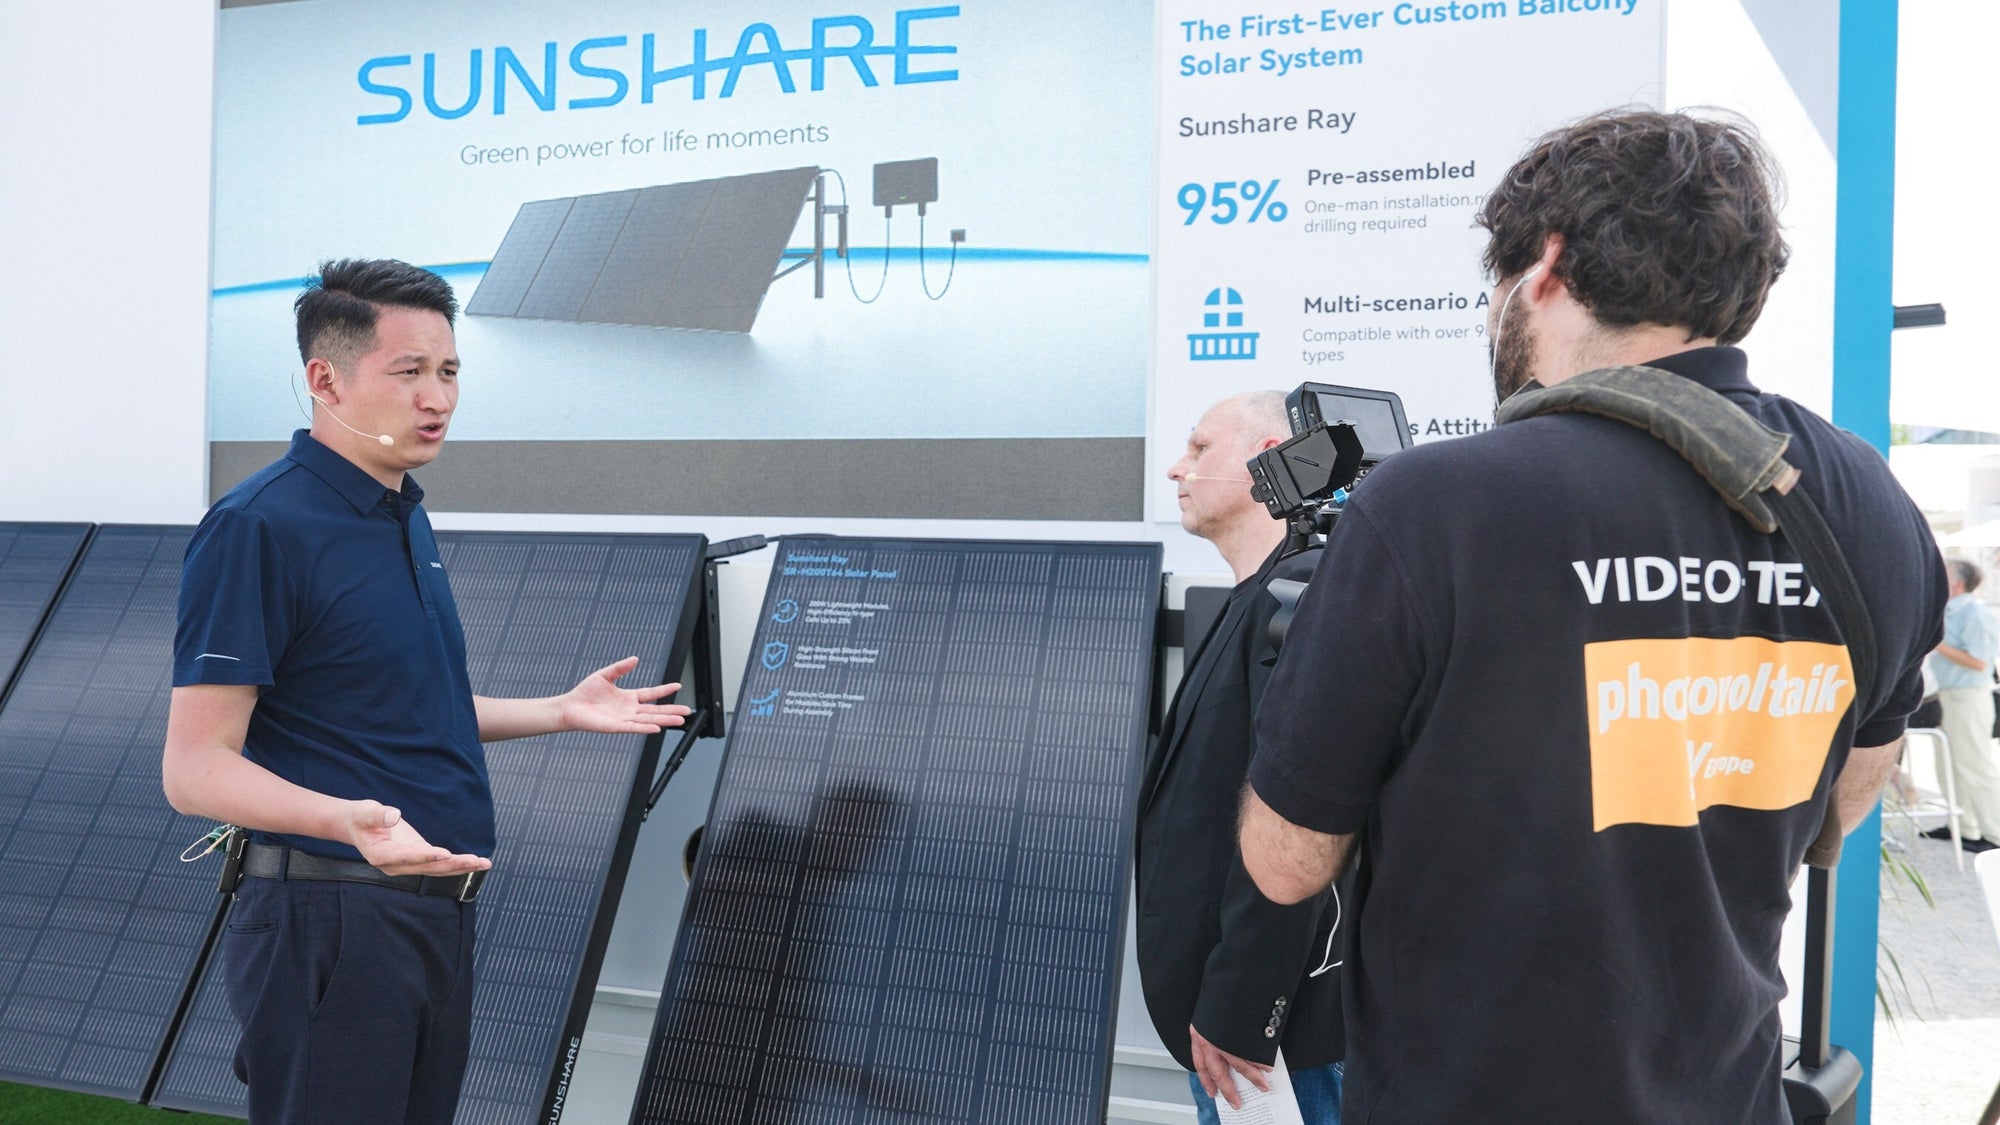
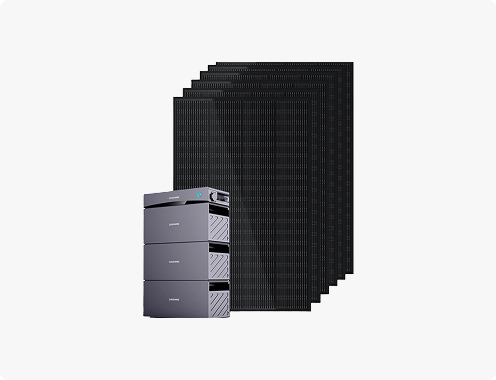
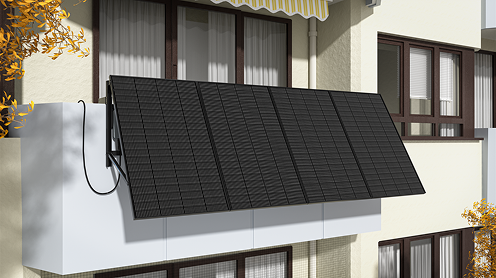
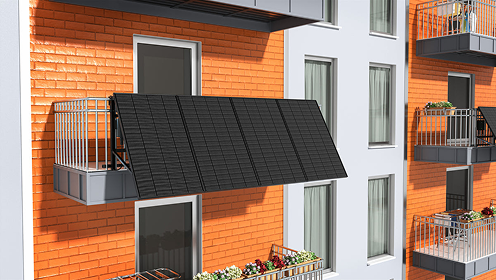
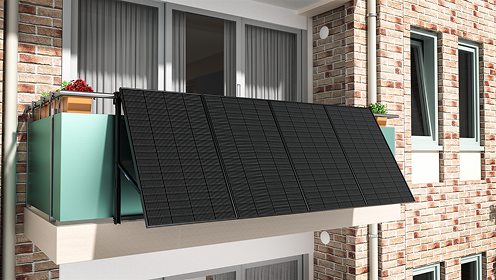
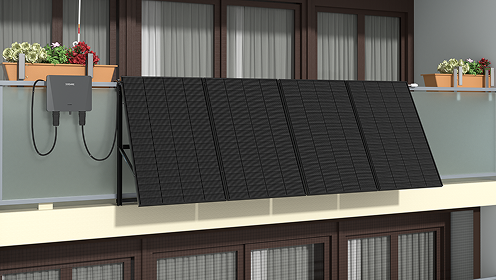
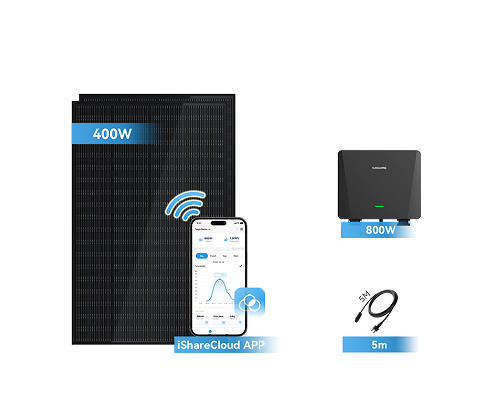
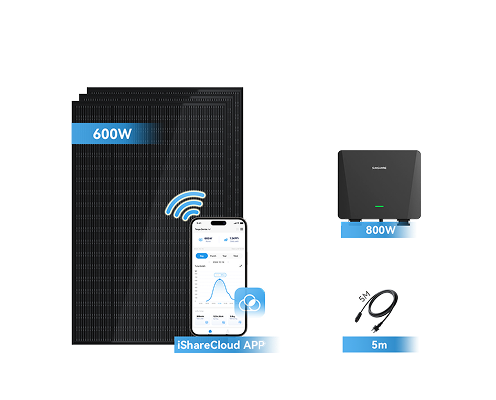
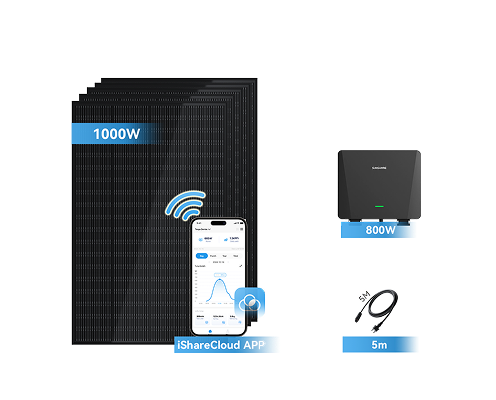
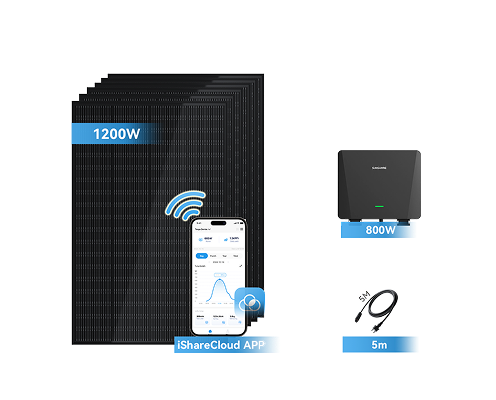
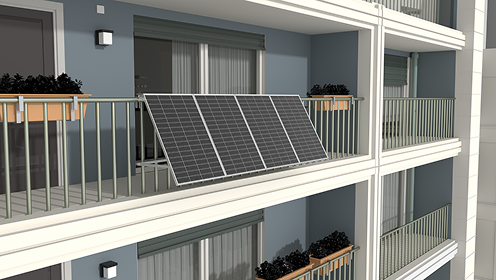
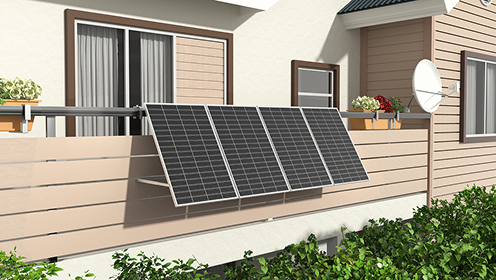
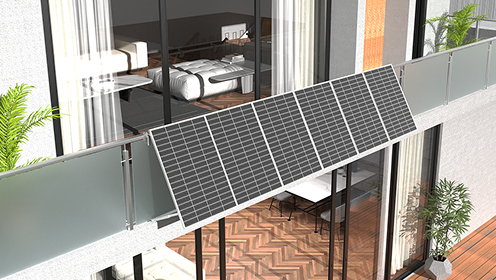
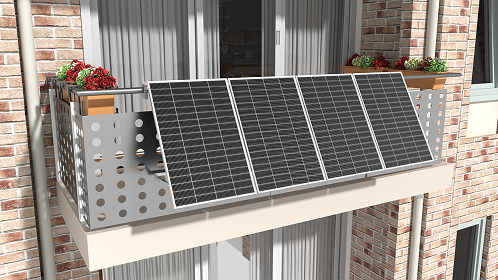
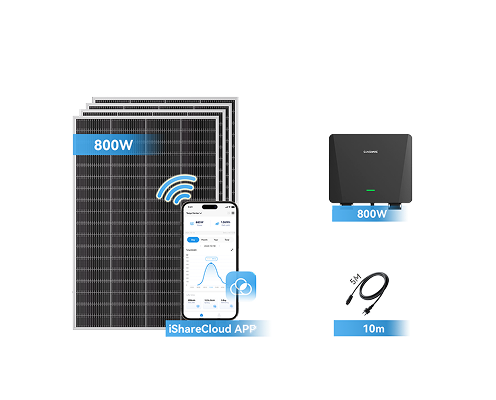
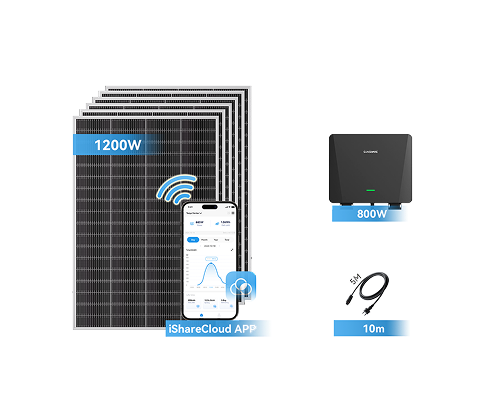
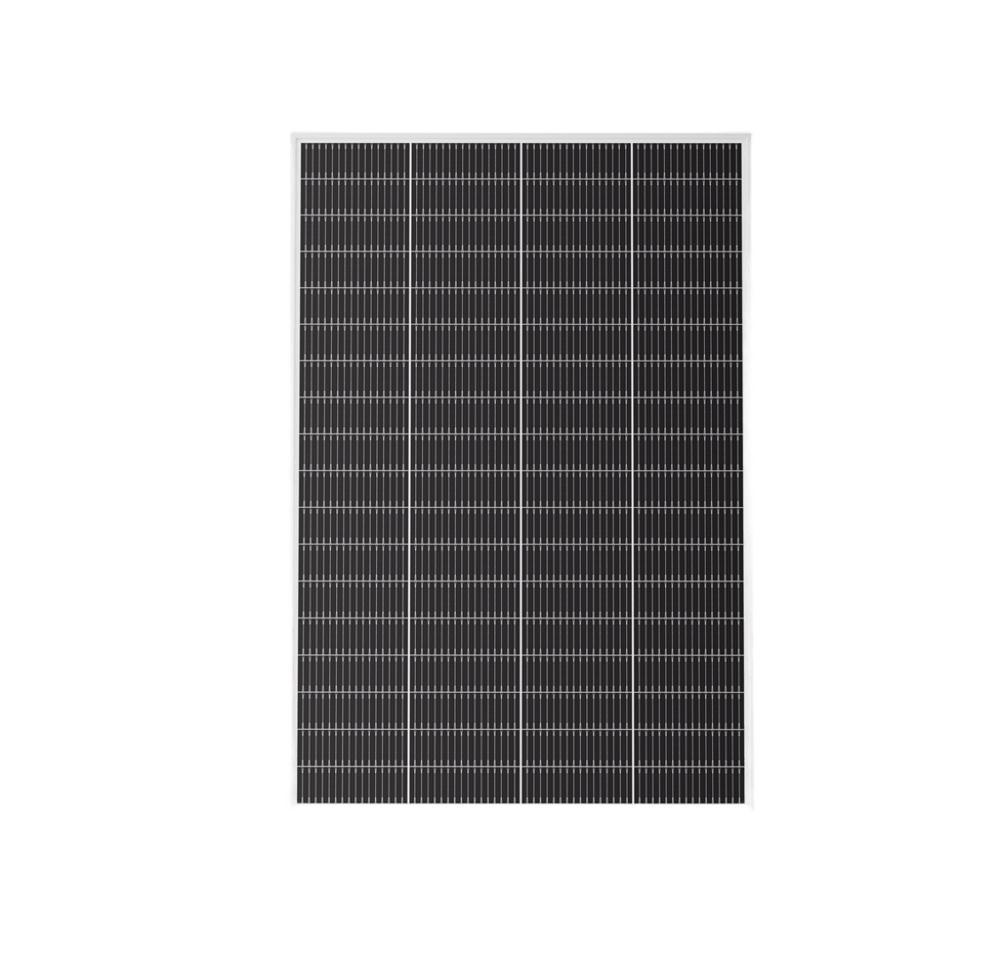
With the rising interest in balcony solar panel installation and the demand for efficient solar panels for home, many homeowners and renters are turning to more flexible solutions like the Sunshare Ray balcony solar system. This system offers easy installation, making it ideal for smaller spaces like balconies. Whether installing a balcony solar system or a broader home solar system, the following guide will walk you through the steps to set up your solar panels using the Sunshare Ray app "iShareCloud Pre", ensuring a smooth and hassle-free process.
Now, let's introduce the setup and operation guide for the iOS and Android versions of the app separately.
The Download Link of Android Version of iShareCloud Pre: https://play.google.com/store/apps/details?id=com.yangguang.iaq&pli=1
The Download Link of iOS Version of iShareCloud Pre: https://apps.apple.com/de/app/isharecloud-pre/id6737226534
Steps to Add and Use a Device in the App
WiFi Setup Tutorial Video
If you're struggling with the setup, consult the video tutorial provided for step-by-step guidance.
Notes:
Before configuration, please make sure that you are binding the device for the first time. If the device is already bound to another user, you must first unbind and " delete" it from that user’s account before proceeding. Each device can only be linked to one user at a time.

preparation before adding the device
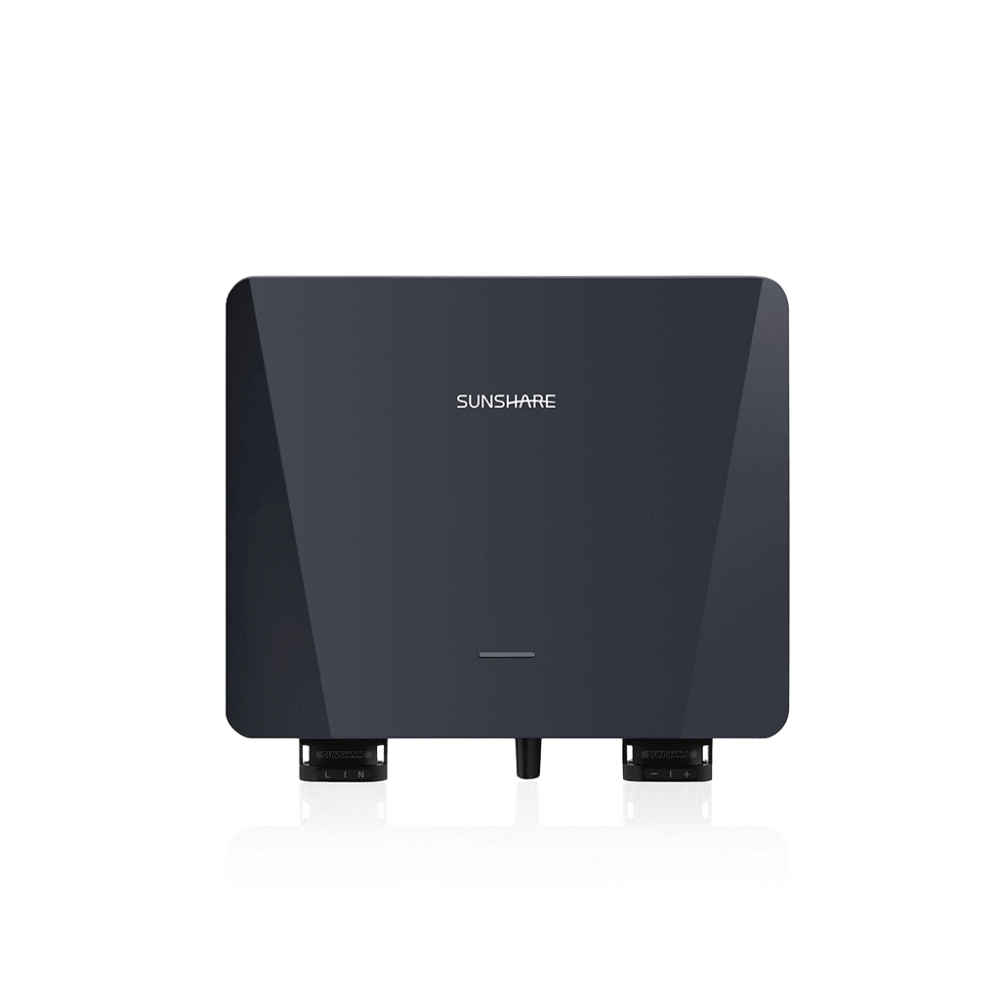
1、Connect the solar panel inverter to the DC end and disconnect the AC end. Make sure the red light is flashing.
2、Ensure your phone can detect the “MI-xx” network.

Note: If you cannot detect the WiFi “MI-xx”, follow these troubleshooting steps:
- Ensure the red light on the solar panel inverteris flashing. If not, disconnect the AC end and keep the DC end connected.
- Move your phone within 10 meters of the solar panel inverter. If it still doesn't show, power cycle the inverter for 10 seconds and reconnect.
Step 1: Register and log in to your account

Step 2: Add New Device

Step 3: Review the connection instructions and click Add New Device

Step 4: Scan the QR Code

Step 5: Configure the WiFi
Android
Once the serial number is successfully input, a 2.4GHz WiFi configuration pop-up will appear. Enter your WiFi name and password, and click "Confirm" to proceed with the setup.


IOS
Once the serial number is successfully input, After successfully entering the serial number, the iOS system requires you to manually enter the WiFi name and password, and click "Confirm" to complete the setup.


Step 6: Submit the page
Once the confirmation message shows that the network configuration has been successfully connected, click the 'Submit' button. Your station will then be successfully added.

Step 7: Connect the AC end
Connect the micro-inverter to the AC end, ensuring the connection is secure. After a short wait, the green light should turn solid. At this point, the device output power to the AC end, and the WiFi connection should be stable.
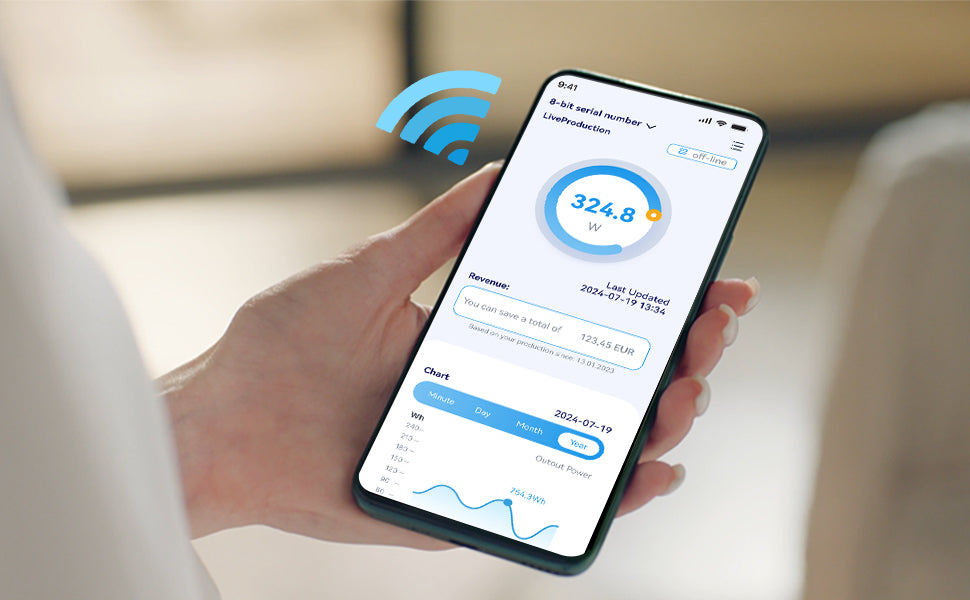
Step 8: Refresh the Device Page
Manually refresh the device page several times to monitor data uploads.

By following these steps, you’ll successfully connect your device and complete the setup process.
If the configuration fails:
1、Make sure you are using a 2.4GHz WiFi network.
2、Double-check the WiFi name and password for accuracy.
3、Ensure the WiFi network is functioning correctly.
4、Ensure that the distance between the router and the micro-inverter is around 10 meters, and the signal passes through no more than two walls.
5、If the network configuration repeatedly fails, try using a different phone or connecting the current phone to another wireless router.
After verifying the above steps, and ensuring the WiFi is a 2.4GHz network and functioning properly, delete the previously added serial number. Power off the micro-inverter for 10 seconds, and keep the DC end connected, and the AC end disconnected. Add the serial number again, find the MI-xx WiFi and reconfigure the correct network.